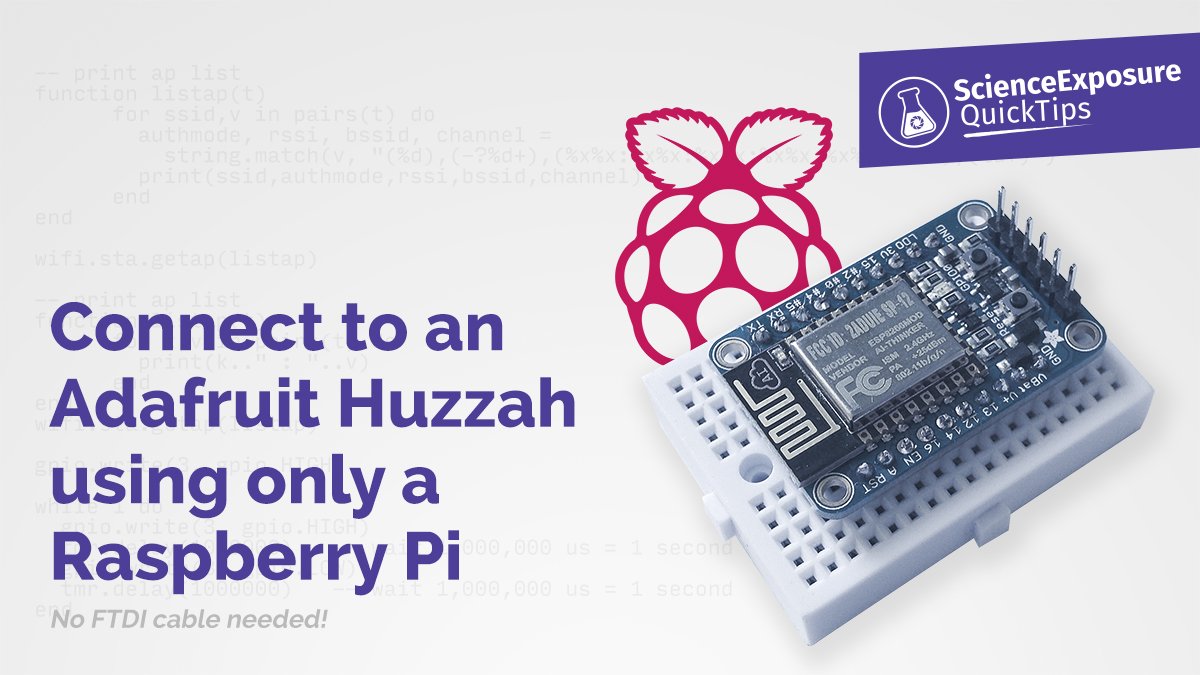
Here’s a quick tip showing you how you can connect to Adafruit’s HUZZAH ESP8266 breakout board using only a Raspberry Pi! Read on below to find out how!
Adafruit’s HUZZAH is one of the best breakout boards for the popular ESP8266 WiFi microcontroller. The ESP8266 is not only cheap, but allows you to work with a variety of programming languages such as Lua, Arduino’s Processing variant and even Python (via MicroPython). The only drawback is the ordinary chip is a bit too small. Adafruit’s HUZZAH breakout board, spreads things out a bit making a bit easier to work with! The only drawback with the HUZZAH, however, is that it still needs a console cable or FTDI cable (which are sort of pricey). Chances are though, you probably already own a Raspberry Pi. If you do, you can get programming this little device in no time.
Disclaimer
Before we start, it is worth noting that this is may not be the best way to connect to your board (See ‘Things to note’ below), but is a cheap and quick way to get up and running. Use this method at your own risk, as I am unaware of a way it could be potentially damage your Pi or HUZZAH.
Set up serial on the Raspberry Pi
The first thing to note, is that you’ll need one of the newer Raspberry Pi models (A+, B+, 2 and (Pi Zero?)) , since only these support 3.3V serial connections. Then you’ll need to set up your Raspberry Pi for serial connection (assuming you’re running Raspbian). Type sudo nano \etc\inittab to open the nano text editor, to edit the inittab file. Search for a line containing T0:23:respawn:/sbin/getty, and add a # sign in front, so it reads as: #T0:23:respawn:/sbin/getty. Now reboot your Pi by typing sudo reboot.
Install minicom or PuTTY
Type sudo apt-get install minicom to install the command line serial communication tool. Alternatively, you can use the PuTTY client, which is installed by typing sudo apt-get install putty -y. This should place it somewhere in your ‘Internet’ menu.
Wiring
You’ll require 4 jumper wires to wire the HUZZAH board to your Raspberry Pi. The first two are for the power, but in the case of the HUZZAH board, you’ll need to use a 5 V power supply, instead of the 3.3 V the ESP8266 chip itself uses (note, the HUZZAH’s GPIO pins still operate at 3.3V, as do the Serial pins).
Serial pins involve an RX (receiver) and TX (transmitter) pin. Hence, you do not connect the RX pin on the HUZZAH to the RX on the Raspberry Pi. Instead, connect the RX pin of the HUZZAH to the TXD GPIO pin #14 of the Raspberry Pi. And then the TX pin of the Huzzah to the RXD GPIO pin #15 of the Raspberry Pi. Read more about Serial here.
As a general rule in electronics, connect the GND pin first to the GND pin on the Raspberry Pi.
Connect from either the V+ or Vbat pins on the FTDI header, or the pins on the side of the board, to the +5V pin on your Raspberry Pi.
To begin coding, type minicom -b 9600 -o -D /dev/ttyAMA0 (The baud rate for the HUZZAH board is 9600, but for a standalone ESP8266, it is 115200). You should be presented with the blank ‘Minicom’ screen. Now press down the ‘Reset’ button on your HUZZAH board, and you should get the welcome message printed, and a warning saying that init.lua could not be started. From this point on, you can follow Adafruit’s instructions.
Things to note
- Using +5V of the Raspberry Pi is not really the preferred way, as this pin has a very low current output (usually whatever is left over from the Pi, hence working headless on the Pi is probably the best way to use it). The HUZZAH can use anywhere up to 250 mA, but the Pi may not be able to deliver this.
- When typing commands, sometimes you might get warning messages, even after sending them. These include messages such as ‘Bad header’. Ignore this, and retype / resend your message. It will usually work.
- Some articles which helped inspire / inform this article:
Hope you’ve enjoyed this Quick Tip, and is of some use to you! If anyone knows of a better way, or some potential ‘Gotchas’ in this set up, please do let me know below in the comments!