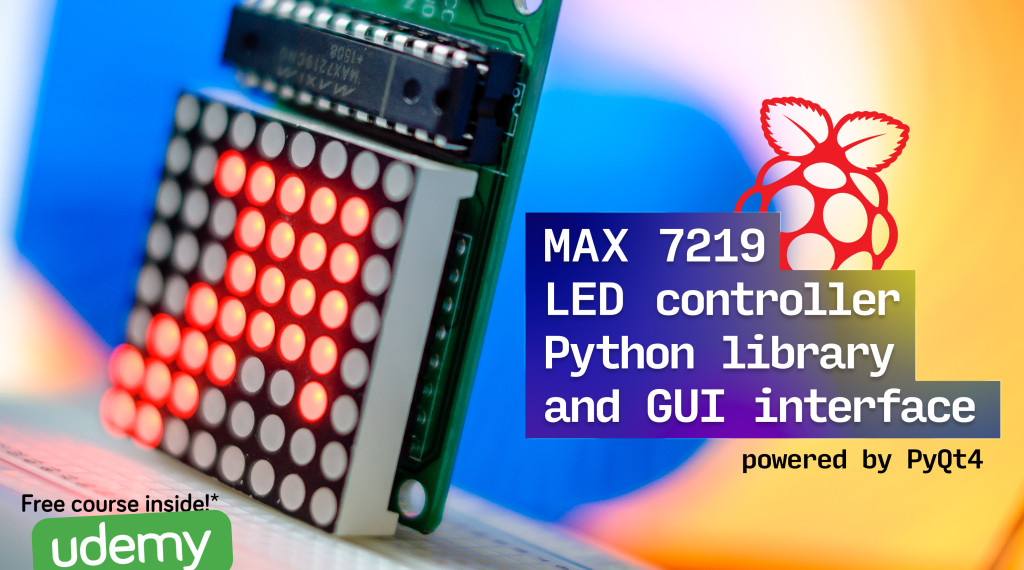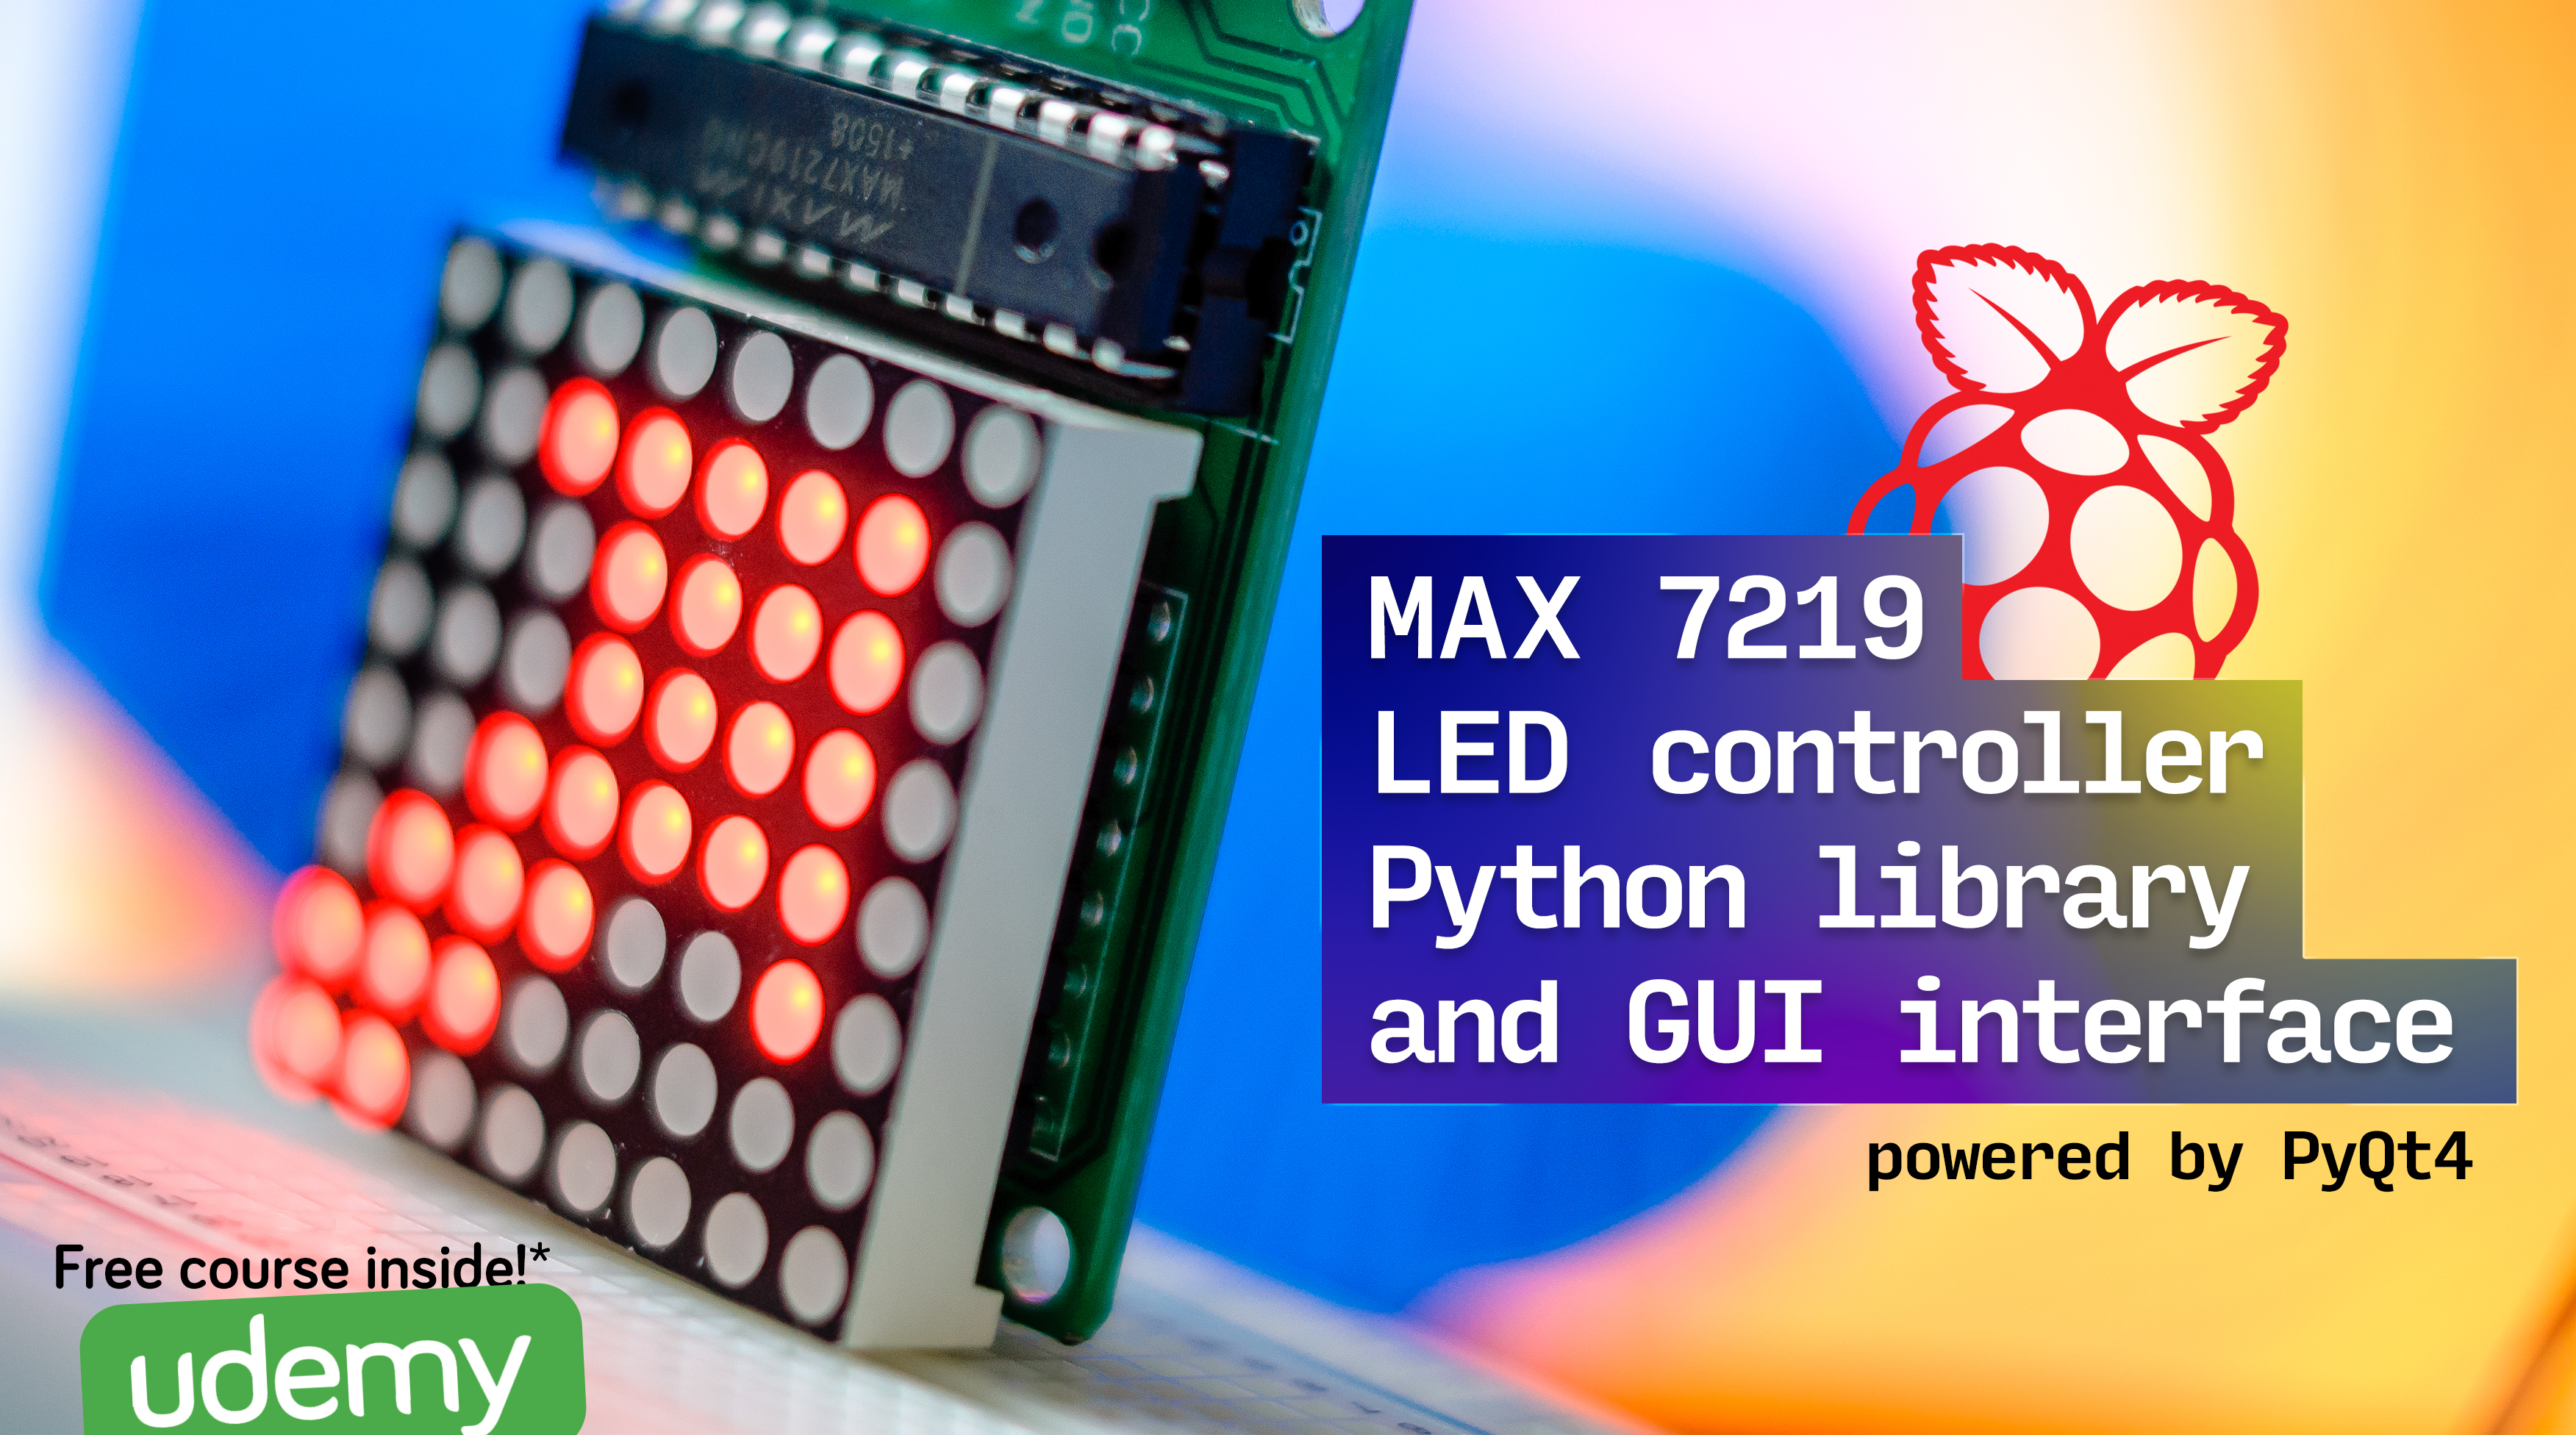
LED matrices are quite popular amongst makers these days, but being able to upload a cool 8×8 graphic to show on your matrix can be cumbersome. In this post, I detail a great Python library I’ve written allowing you to control the matrix using buttons in a GUI, coded using the brilliant PyQt4 module. If you’d like to make a cool UI like this too, read on after the break to find out how you can get a free course from Udemy worth £61!
There’s loads of great LED matrices for use with micro-controllers like Raspberry Pis and Arduinos, but many of them require soldering before you can use them. If you look online, you can find some really cheap (£3 tops) pre-soldered LED matrices driven by a MAXIM 7219 chipset. All you have to do is connect the wires to the pins, and you’re ready to go! Unfortunately, the libraries tend to be very fundamental, allowing you only to scroll some text or control individual pixels. That’s why I decided to write a Python library that allows you to quickly perform tasks such as display an 8×8 graphic encoded in a matrix, or run a rotation animation. But probably more useful is the GUI interface that shows a table of buttons to control the LEDs individually, and preview your graphic visually, without having to do any code.
Where to get the code?
The code for the projects are uploaded on GitHub for you to download from, as always. There’s a Python library called LEDController, and a Python script (which depends on LEDController) called led-controller-gui.py.
Installation
To get my scripts working, you’ll need to first install Richard Hull’s max7219 package from GitHub. Refer to Richard Hull’s README on how to connect the LED matrix to your RPi. Once that’s installed, you can install my Python library by typing the following commands at your terminal (the GUI program requires no installation):
wget https://github.com/ismailuddin/raspberrypi/raw/master/led-matrix/dist/LEDController-0.1.1.tar.gz
tar -xzf LEDController-0.1.1.tar.gz
cd LEDController-0.1.1.tar/
sudo python setup.py install
The led-controller-gui.py file can be downloaded separately from GitHub, and run as explained below.
LED Matrix controller GUI
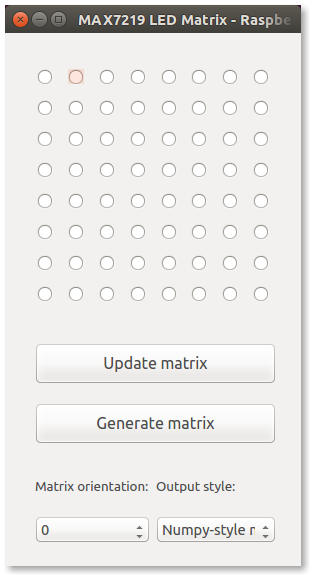
 This GUI interface for controlling the LEDs on the MAX7219 LED matrix is written using the PyQt4 framework, which allows you to design the layout of the interface in a program, rather than coding it like with Tkinter. Your layout can then be directly converted to a Python script file, into which you can link your Python script to the various widgets / elements.
To launch this script, simply type sudo python led-controller-gui.py at the terminal (you can find the single script file on my GitHub). The great thing about this script is it can be even run in Windows, Mac or Ubuntu (without the MAX7219 dependency, but with PyQt4) so you can design your matrices for use later.
Simply press the ‘Update Matrix’ button to light up the LEDs when you’ve made your graphic. For more information on how the rest of the program works, consult the README file on my GitHub page.
‘LEDController’ Python package
This little package let’s you control the LEDs on your matrix using files generated from the program mentioned above, as well as play a cool rotating animation on your graphic. What’s really cool is that you can even add a bit of an animation between the rotations, making the graphic reveal itself pixel by pixel.
To initialise the module, run the following commands:
from LEDController.functions import MatrixFunctions

func = MatrixFunctions()
You can then use different methods such as func.updateMatrix(), func.readMatrix() and func.rotationAnim(). These functions are well documented, so you can just use Python’s help() function, putting the method name into the brackets, to get an explanation of the arguments. Alternatively, check out the README files on my GitHub page.
Udemy offer!
Did you enjoy using this program, and want to know how you too can code a UI interface like that? Udemy our offering the first 50 readers of this blog post, their brilliant ‘Python GUI programming with Qt framework‘ class for absolutely FREE (normally priced at £61!), using the coupon code below. Like all other Udemy courses, they’re all very professionally put together and really easy to follow. The Qt framework is also arguably the best framework for building UI interfaces using Python, making this the best class to sign up for! There’s no strings attached, this is just some of the awesome promotions Udemy offer to show you how great their courses are!

